> ## Documentation Index
> Fetch the complete documentation index at: https://prismeai-legacy.mintlify.site/llms.txt
> Use this file to discover all available pages before exploring further.
# Creating Agents
> Learn how to build specialized AI agents in the Prisme.ai Store
# Creating Agents in AI Store
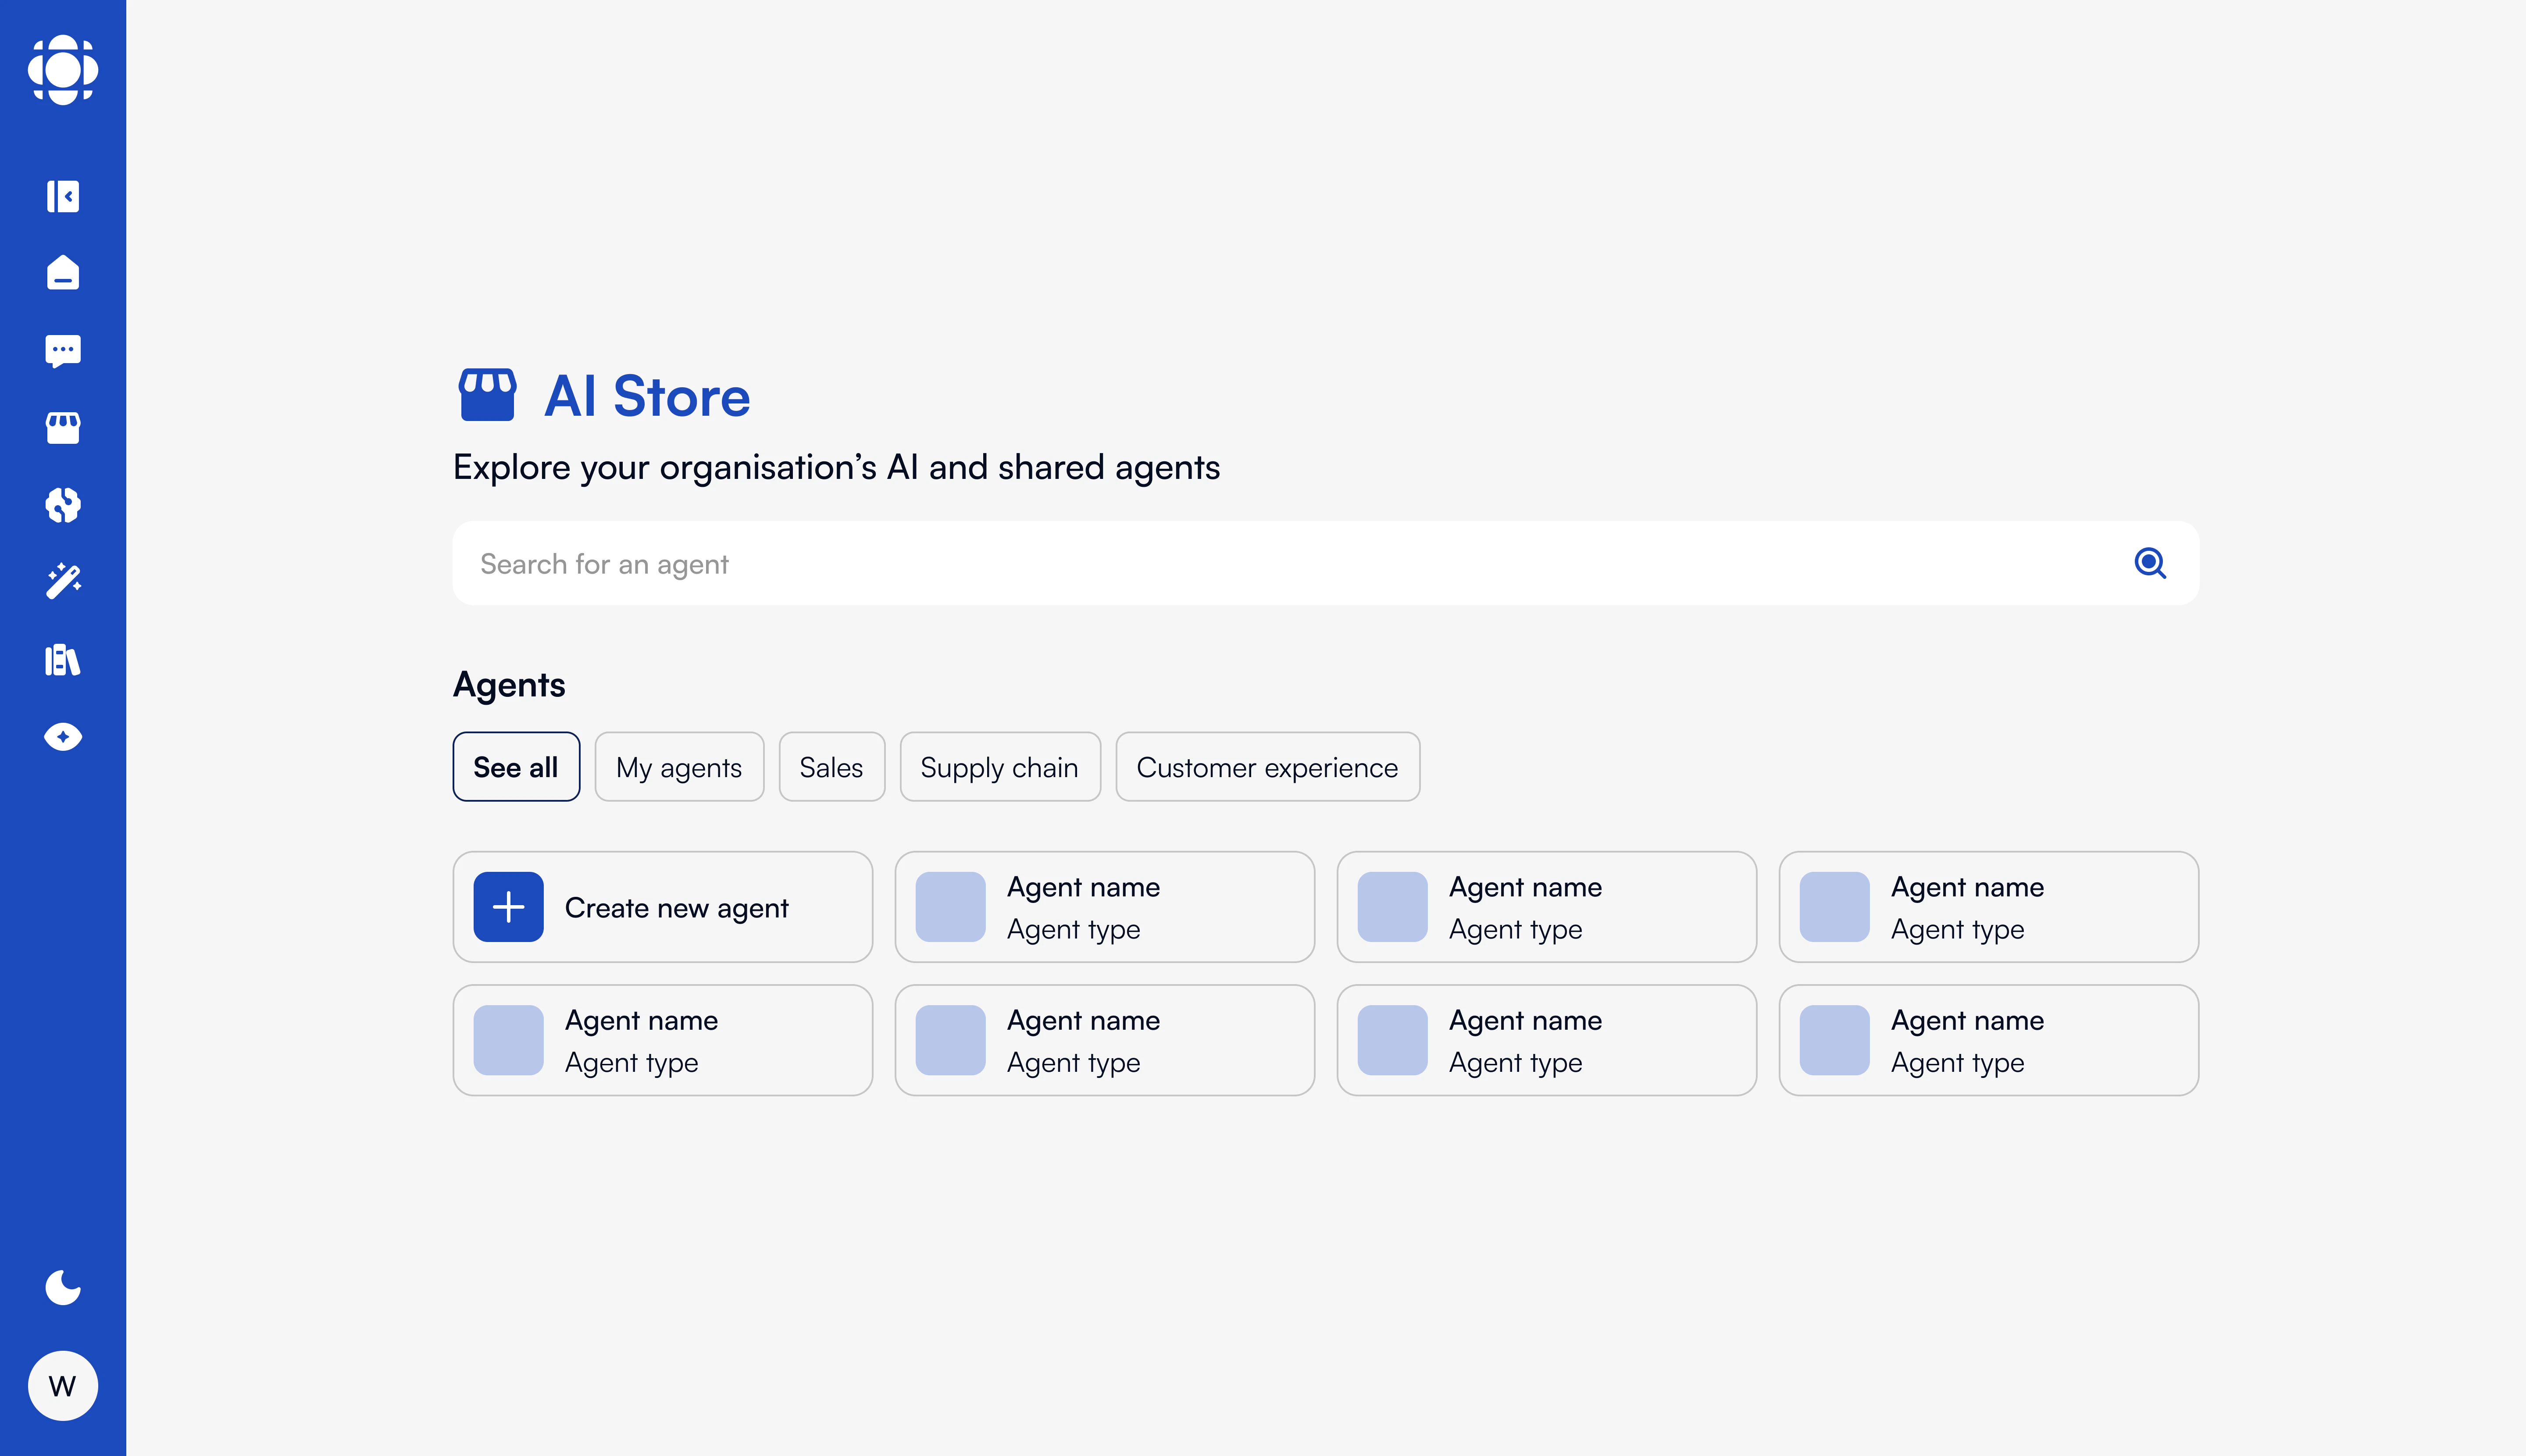 The AI Store enables you to create specialized agents tailored to specific tasks, domains, and use cases. This guide will walk you through the process of building your own custom agents to enhance productivity and solve business challenges.
## Agent Creation Overview
Creating an agent involves several key steps:
Determine the specific function and scope of your agent.
Set up the knowledge, tools, and parameters for your agent.
Validate that your agent performs as expected and make improvements.
Make your agent available to yourself and others as appropriate.
## Starting the Agent Creation Process
Navigate to the AI Store from your Prisme.ai dashboard.
Click the "Create Agent" button in the top-right corner of the AI Store.
Select how you want to create your agent:
Options include:
* **Start from scratch**: Build a completely new agent
* **Use a template**: Start with a pre-configured template
* **Clone existing**: Duplicate and modify an existing agent
* **Import configuration**: Use a DSUL or JSON configuration
## Agent Configuration Interface
The agent configuration interface consists of several tabs where you can define different aspects of your agent:
In this tab, you'll define the fundamental details of your agent:
* **Agent Name**: Clear, descriptive name for your agent
* **Description**: Detailed explanation of the agent's purpose and capabilities
* **Category**: Primary classification for your agent
* **Tags**: Additional keywords to help with discovery
* **Icon/Image**: Visual identifier for your agent
* **Visibility**: Whether the agent will be listed publicly in the store
Here you'll configure your agent's behavior and information sources:
* **System Instructions**: Core directives that shape the agent's behavior
* **Knowledge Bases**: Connect to relevant organizational knowledge
* **Pre-loaded Context**: Information always available to the agent
* **Grounding Sources**: References the agent should rely on
* **Response Style**: Tone, length, and format preferences
Select and configure the AI model that powers your agent:
* **Model Selection**: Choose which LLM to use
* **Creativity**: Control creativity vs. determinism
* **Context Window**: Set the amount of conversation history to retain
* **Token Limits**: Configure maximum input/output lengths
* **Advanced Parameters**: Fine-tune model behavior
Enable specialized features for your agent:
* **Canvas Access**: Enable rich document creation
* **Multimodal Features**: Enable image and audio processing
* **Custom Tools**: Add specialized tools from the marketplace
* **API Connections**: Link to external systems and data
* **Code Execution**: Enable code running capabilities
Establish guardrails for responsible agent behavior:
* **Fallback Responses**: Configure replies for out-of-scope queries
* **Warning Messages**: Define cautions for certain topics
* **Response Disclaimers**: Add necessary qualifications to answers
* **Sensitive Topics**: Configure handling of delicate subjects
## Defining Basic Information
Create a clear, descriptive name that indicates the agent's purpose.
Best practices for agent names:
* Be specific (e.g., "Sales Proposal Generator" vs. just "Sales Helper")
* Keep it concise (ideally under 30 characters)
* Avoid acronyms unless they're widely understood
* Consider including the function or domain (e.g., "HR Policy Assistant")
Create a comprehensive description that explains what the agent does and how to use it.
Effective descriptions include:
* The agent's primary purpose
* Key capabilities and features
* Ideal use cases
* Any specialized knowledge or tools it uses
* Tips for getting the best results
Choose the primary category that best represents your agent's function.
Categories help users discover your agent when browsing or filtering the AI Store.
Include relevant tags to improve discoverability.
Effective tags include:
* Related business functions
* Specific tasks the agent performs
* Industries or domains it specializes in
* Technologies or methodologies it uses
Select or upload a visual identifier for your agent.
You can:
* Select from the library of pre-designed icons
* Upload a custom image (recommended size: 256x256 pixels)
* Use the AI to generate an icon based on your description
Determine whether your agent will be listed in the AI Store.
Options include:
* **Listed**: Appears in the AI Store browsing and search
* **Unlisted**: Accessible only via direct link or to specified users
* **Private**: Visible only to you and those you explicitly share with
## Configuring Instructions & Knowledge
The Instructions & Knowledge section is where you define your agent's behavior and information sources:
Create detailed instructions that guide how the agent behaves and responds.
Effective system instructions include:
* The agent's role and perspective
* Response style and format guidelines
* Domains of expertise and limitations
* How to handle uncertainty or out-of-scope queries
* Specific protocols for specialized tasks
```
You are a Sales Proposal Specialist who helps create professional, persuasive sales proposals.
Your expertise includes:
- Understanding client needs and pain points
- Structuring compelling proposals
- Highlighting value propositions effectively
- Creating appropriate pricing strategies
- Designing professional proposal layouts
When helping users:
- Ask clarifying questions about their client and opportunity
- Provide specific, actionable suggestions
- Use professional, confident language
- Create content that is concise yet comprehensive
- Structure proposals with clear sections (Executive Summary, Solution Overview, Pricing, etc.)
If asked about topics outside of sales proposals:
- Politely redirect to your area of expertise
- Suggest reaching out to another specialist if appropriate
Always maintain a professional, helpful tone focused on achieving successful sales outcomes.
```
Link relevant knowledge bases to your agent.
You can:
* Select from existing organizational knowledge bases
* Create a new knowledge base specifically for this agent
* Configure how the agent prioritizes and uses different knowledge sources
* Set knowledge base query parameters
Provide information that should always be available to the agent.
Pre-loaded context can include:
* Key facts and reference information
* Guidelines and policies
* Templates or examples
* Frequently used data or terminology
Define how your agent should communicate.
Style parameters include:
* Tone (formal, conversational, technical, etc.)
* Typical response length
* Level of detail
* Use of examples and illustrations
* Technical language vs. simplified explanations
## Selecting Model & Parameters
The model settings determine the underlying AI capabilities and behavior:
Choose the appropriate LLM for your agent:
Considerations include:
* Capability requirements (e.g., code generation, multimodal)
* Response quality needs
* Processing speed
* Token costs
* Specialized abilities
You can also allow the agent to automatically select the appropriate model for each query based on content.
Control the creativity and determinism of responses:
* **Lower temperature** (0.0-0.3): More focused, deterministic responses
* **Moderate temperature** (0.3-0.7): Balanced creativity and consistency
* **Higher temperature** (0.7-1.0): More creative, varied responses
Choose based on your agent's purpose:
* Factual knowledge agents: Lower temperature
* Creative content agents: Higher temperature
* General assistance: Moderate temperature
Define how much conversation history the agent retains:
Options typically range from 2K to 32K tokens, depending on the model.
Consider:
* Longer contexts allow for more detailed, contextual responses
* Shorter contexts reduce token usage and costs
* Complex tasks may require larger context windows
* Simple, independent queries work well with smaller contexts
Fine-tune model behavior with additional settings:
Parameters may include:
* Top-p (nucleus sampling)
* Top-k
* Frequency penalty
* Presence penalty
* Stop sequences
* Maximum response length
These settings are typically only needed for specialized use cases requiring precise control over the model's behavior.
## Enabling Tools & Capabilities
Enhance your agent with specialized tools:
The AI Store enables you to create specialized agents tailored to specific tasks, domains, and use cases. This guide will walk you through the process of building your own custom agents to enhance productivity and solve business challenges.
## Agent Creation Overview
Creating an agent involves several key steps:
Determine the specific function and scope of your agent.
Set up the knowledge, tools, and parameters for your agent.
Validate that your agent performs as expected and make improvements.
Make your agent available to yourself and others as appropriate.
## Starting the Agent Creation Process
Navigate to the AI Store from your Prisme.ai dashboard.
Click the "Create Agent" button in the top-right corner of the AI Store.
Select how you want to create your agent:
Options include:
* **Start from scratch**: Build a completely new agent
* **Use a template**: Start with a pre-configured template
* **Clone existing**: Duplicate and modify an existing agent
* **Import configuration**: Use a DSUL or JSON configuration
## Agent Configuration Interface
The agent configuration interface consists of several tabs where you can define different aspects of your agent:
In this tab, you'll define the fundamental details of your agent:
* **Agent Name**: Clear, descriptive name for your agent
* **Description**: Detailed explanation of the agent's purpose and capabilities
* **Category**: Primary classification for your agent
* **Tags**: Additional keywords to help with discovery
* **Icon/Image**: Visual identifier for your agent
* **Visibility**: Whether the agent will be listed publicly in the store
Here you'll configure your agent's behavior and information sources:
* **System Instructions**: Core directives that shape the agent's behavior
* **Knowledge Bases**: Connect to relevant organizational knowledge
* **Pre-loaded Context**: Information always available to the agent
* **Grounding Sources**: References the agent should rely on
* **Response Style**: Tone, length, and format preferences
Select and configure the AI model that powers your agent:
* **Model Selection**: Choose which LLM to use
* **Creativity**: Control creativity vs. determinism
* **Context Window**: Set the amount of conversation history to retain
* **Token Limits**: Configure maximum input/output lengths
* **Advanced Parameters**: Fine-tune model behavior
Enable specialized features for your agent:
* **Canvas Access**: Enable rich document creation
* **Multimodal Features**: Enable image and audio processing
* **Custom Tools**: Add specialized tools from the marketplace
* **API Connections**: Link to external systems and data
* **Code Execution**: Enable code running capabilities
Establish guardrails for responsible agent behavior:
* **Fallback Responses**: Configure replies for out-of-scope queries
* **Warning Messages**: Define cautions for certain topics
* **Response Disclaimers**: Add necessary qualifications to answers
* **Sensitive Topics**: Configure handling of delicate subjects
## Defining Basic Information
Create a clear, descriptive name that indicates the agent's purpose.
Best practices for agent names:
* Be specific (e.g., "Sales Proposal Generator" vs. just "Sales Helper")
* Keep it concise (ideally under 30 characters)
* Avoid acronyms unless they're widely understood
* Consider including the function or domain (e.g., "HR Policy Assistant")
Create a comprehensive description that explains what the agent does and how to use it.
Effective descriptions include:
* The agent's primary purpose
* Key capabilities and features
* Ideal use cases
* Any specialized knowledge or tools it uses
* Tips for getting the best results
Choose the primary category that best represents your agent's function.
Categories help users discover your agent when browsing or filtering the AI Store.
Include relevant tags to improve discoverability.
Effective tags include:
* Related business functions
* Specific tasks the agent performs
* Industries or domains it specializes in
* Technologies or methodologies it uses
Select or upload a visual identifier for your agent.
You can:
* Select from the library of pre-designed icons
* Upload a custom image (recommended size: 256x256 pixels)
* Use the AI to generate an icon based on your description
Determine whether your agent will be listed in the AI Store.
Options include:
* **Listed**: Appears in the AI Store browsing and search
* **Unlisted**: Accessible only via direct link or to specified users
* **Private**: Visible only to you and those you explicitly share with
## Configuring Instructions & Knowledge
The Instructions & Knowledge section is where you define your agent's behavior and information sources:
Create detailed instructions that guide how the agent behaves and responds.
Effective system instructions include:
* The agent's role and perspective
* Response style and format guidelines
* Domains of expertise and limitations
* How to handle uncertainty or out-of-scope queries
* Specific protocols for specialized tasks
```
You are a Sales Proposal Specialist who helps create professional, persuasive sales proposals.
Your expertise includes:
- Understanding client needs and pain points
- Structuring compelling proposals
- Highlighting value propositions effectively
- Creating appropriate pricing strategies
- Designing professional proposal layouts
When helping users:
- Ask clarifying questions about their client and opportunity
- Provide specific, actionable suggestions
- Use professional, confident language
- Create content that is concise yet comprehensive
- Structure proposals with clear sections (Executive Summary, Solution Overview, Pricing, etc.)
If asked about topics outside of sales proposals:
- Politely redirect to your area of expertise
- Suggest reaching out to another specialist if appropriate
Always maintain a professional, helpful tone focused on achieving successful sales outcomes.
```
Link relevant knowledge bases to your agent.
You can:
* Select from existing organizational knowledge bases
* Create a new knowledge base specifically for this agent
* Configure how the agent prioritizes and uses different knowledge sources
* Set knowledge base query parameters
Provide information that should always be available to the agent.
Pre-loaded context can include:
* Key facts and reference information
* Guidelines and policies
* Templates or examples
* Frequently used data or terminology
Define how your agent should communicate.
Style parameters include:
* Tone (formal, conversational, technical, etc.)
* Typical response length
* Level of detail
* Use of examples and illustrations
* Technical language vs. simplified explanations
## Selecting Model & Parameters
The model settings determine the underlying AI capabilities and behavior:
Choose the appropriate LLM for your agent:
Considerations include:
* Capability requirements (e.g., code generation, multimodal)
* Response quality needs
* Processing speed
* Token costs
* Specialized abilities
You can also allow the agent to automatically select the appropriate model for each query based on content.
Control the creativity and determinism of responses:
* **Lower temperature** (0.0-0.3): More focused, deterministic responses
* **Moderate temperature** (0.3-0.7): Balanced creativity and consistency
* **Higher temperature** (0.7-1.0): More creative, varied responses
Choose based on your agent's purpose:
* Factual knowledge agents: Lower temperature
* Creative content agents: Higher temperature
* General assistance: Moderate temperature
Define how much conversation history the agent retains:
Options typically range from 2K to 32K tokens, depending on the model.
Consider:
* Longer contexts allow for more detailed, contextual responses
* Shorter contexts reduce token usage and costs
* Complex tasks may require larger context windows
* Simple, independent queries work well with smaller contexts
Fine-tune model behavior with additional settings:
Parameters may include:
* Top-p (nucleus sampling)
* Top-k
* Frequency penalty
* Presence penalty
* Stop sequences
* Maximum response length
These settings are typically only needed for specialized use cases requiring precise control over the model's behavior.
## Enabling Tools & Capabilities
Enhance your agent with specialized tools:
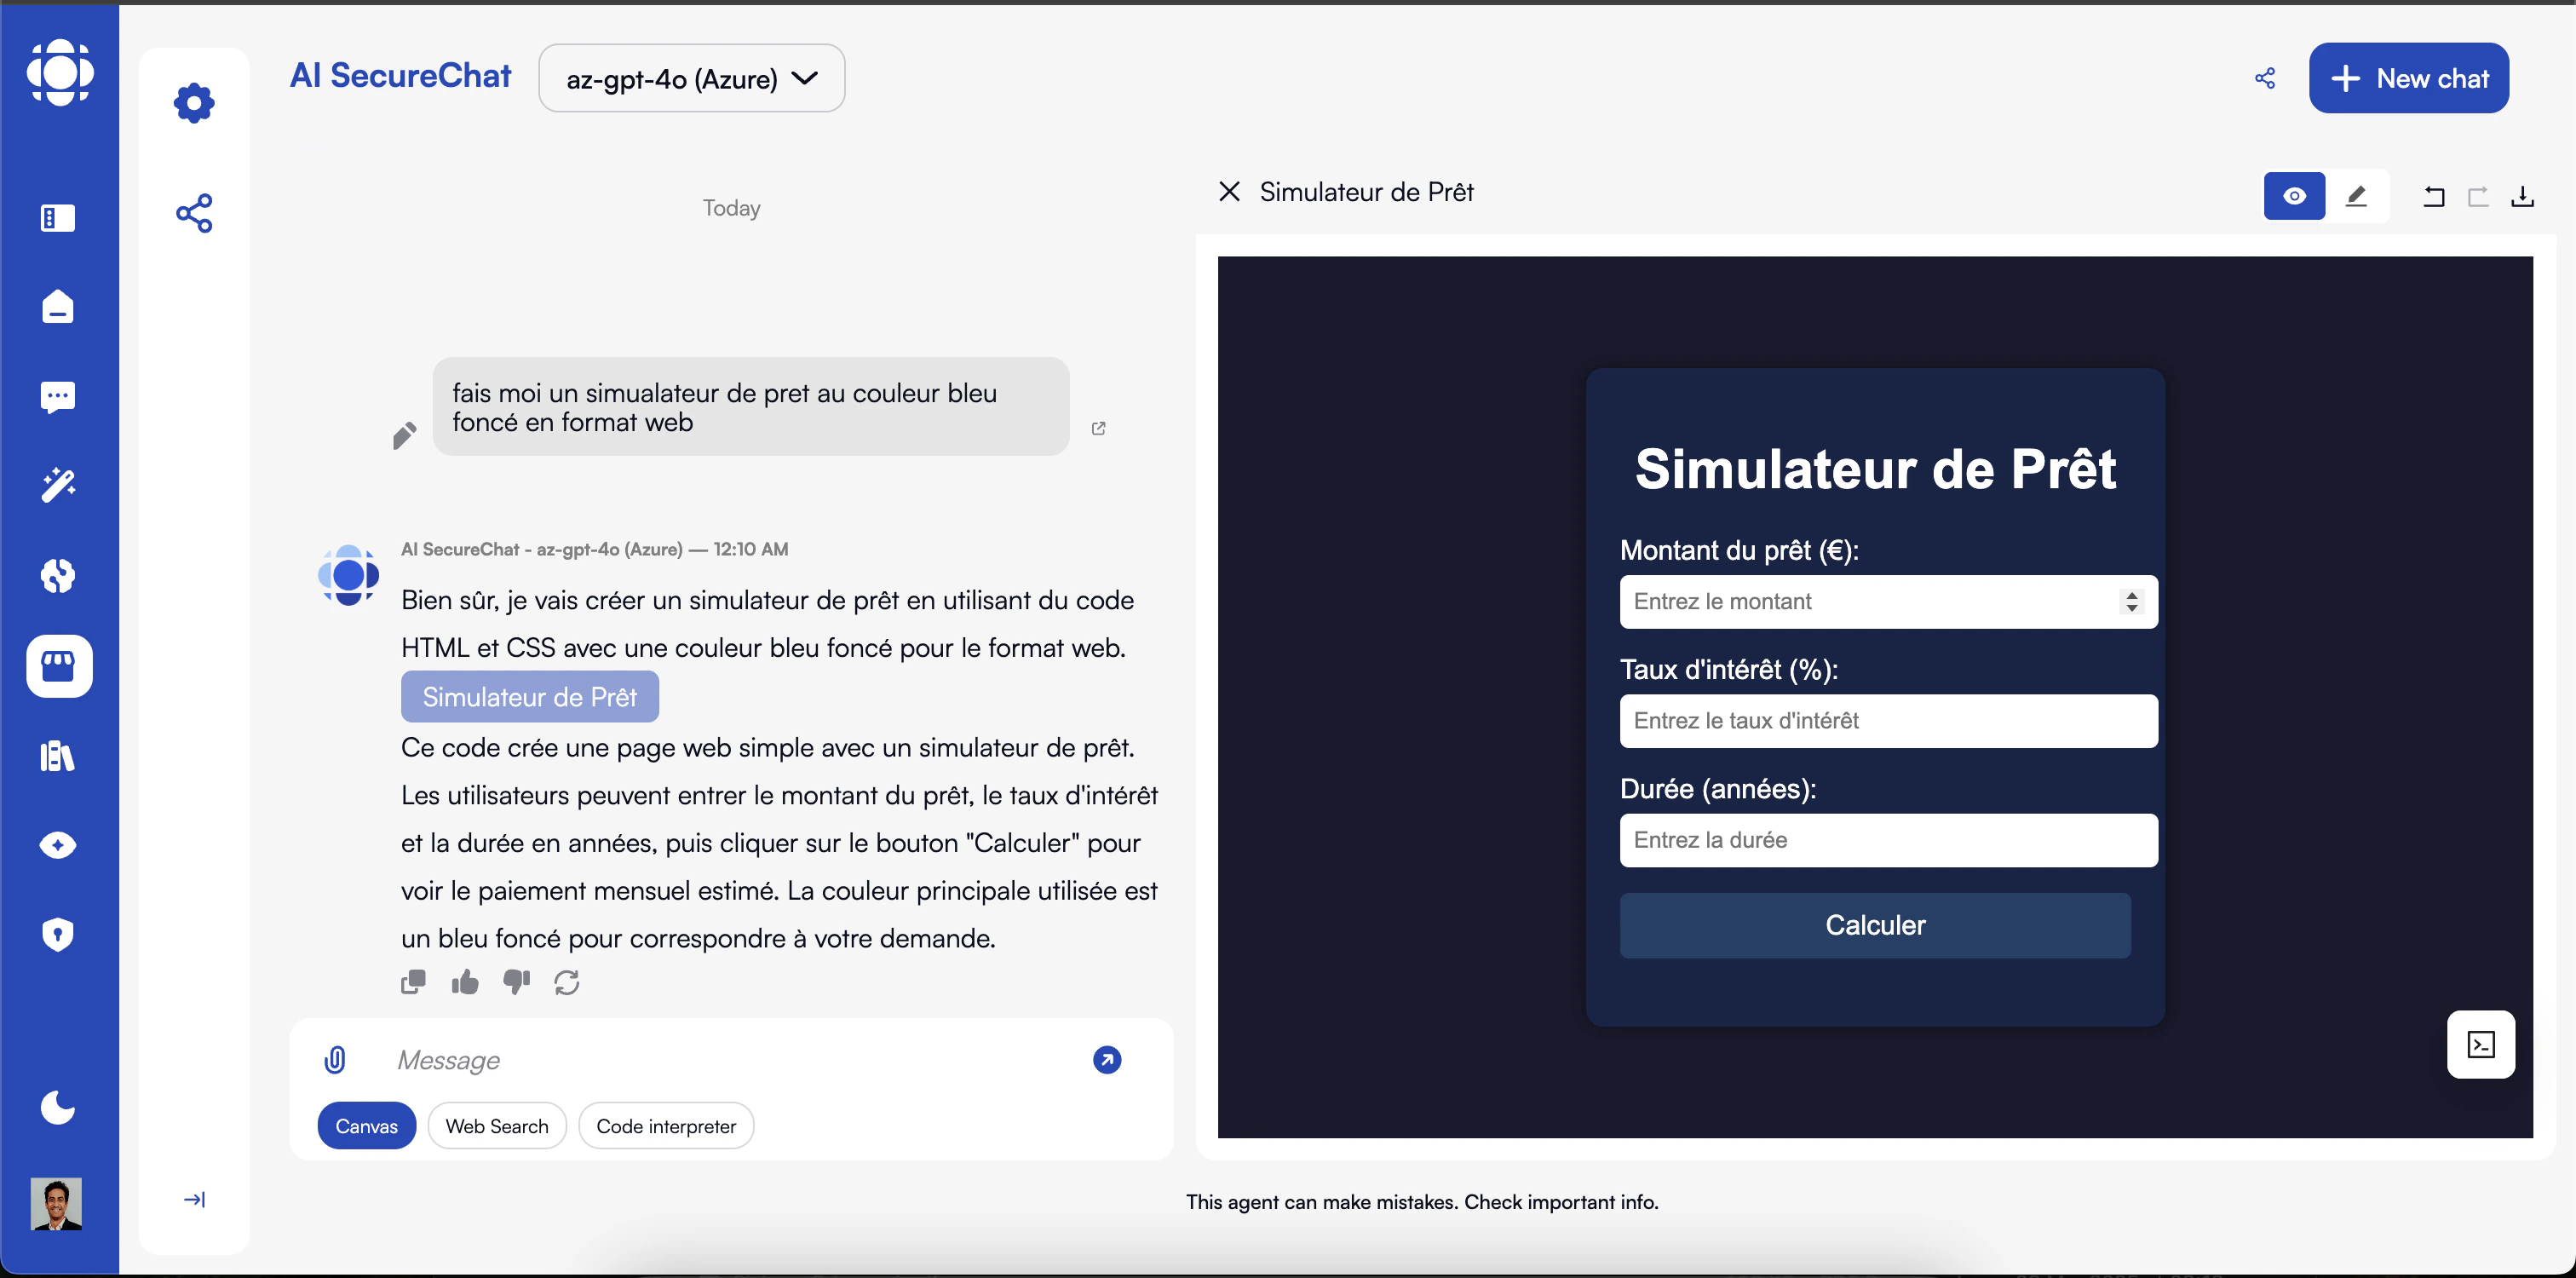 Enable and configure Canvas functionality:
* Toggle Canvas availability
* Set default Canvas type (document, code, etc.)
* Configure Canvas templates
* Set export options
* Define collaboration settings
Configure how your agent works with documents:
* Toggle document upload capability
* Set file type restrictions
* Configure size limits
* Enable/disable OCR features
* Set document processing parameters
Enable image and audio processing:
* Toggle image analysis
* Configure image generation (if applicable)
* Enable audio transcription
* Set quality and resolution parameters
Add specialized capabilities from the tool marketplace:
* Web search and browsing
* Calculation and analysis tools
* Data visualization
* Specialized API connectors
* Custom enterprise tools
## Setting Safeguards
Establish appropriate guardrails for your agent:
Using prompt, set appropriate boundaries for content generation.
Options include:
* Content category restrictions
* Language and tone guidelines
* Industry-specific compliance settings
* Custom prohibited content rules
Define how your agent responds when it encounters queries outside its scope.
Effective fallbacks:
* Clearly explain the limitation
* Suggest alternative approaches
* Direct users to appropriate resources
* Maintain a helpful tone
```
I'm specialized in helping with sales proposals and related sales documentation. This question appears to be about [identified topic], which is outside my area of expertise.
To get the best assistance with this:
- For technical questions: Try the Technical Support Agent
- For HR policies: The HR Policy Assistant can help
- For general information: The General Knowledge Agent would be better suited
Would you like me to help with a sales proposal or related sales document instead?
```
Create appropriate cautions for sensitive topics or uncertain information.
Warnings can be configured for:
* Speculative or uncertain information
* Potentially sensitive topics
* Legal, medical, or financial advice
* Experimental features
* High-stakes decision areas
```
Note: The information I'm providing is meant as general sales guidance and should be customized to your specific situation. Before finalizing important sales contracts or pricing, it's advisable to have them reviewed by your legal and finance teams as appropriate.
```
Add necessary qualifications to certain types of responses.
Common disclaimer types:
* Expertise limitations
* Currency of information
* Need for human review
* Industry-specific regulatory disclaimers
* Data privacy notices
## Testing Your Agent
Before publishing, thoroughly test your agent to ensure it performs as expected:
Click the "Chat" button in the agent configuration interface.
Test mode provides a preview environment where you can interact with your agent before publishing.
Test a variety of inputs to verify the agent's behavior.
Be sure to test:
* Core capabilities and primary use cases
* Edge cases and unusual requests
* Different phrasings and question types
* Complex, multi-part queries
* Inputs that should trigger safeguards
If your agent uses tools, test that they work correctly.
For each enabled tool:
* Verify that it's invoked appropriately
* Check that results are presented clearly
* Test error handling and fallbacks
* Confirm integration with the agent's responses
Make adjustments based on testing results.
Common refinements include:
* Clarifying system instructions
* Adjusting model parameters
* Enhancing knowledge connections
* Improving fallback responses
* Fine-tuning tool configurations
## Publishing Your Agent
Once you're satisfied with your agent's performance, you can publish it to the AI Store:
Double-check all configurations before publishing.
The pre-publish review shows a summary of all agent settings and configurations.
Determine who can access your agent.
Options include:
* **Public**: Available to all users on your Prisme.ai instance
* **Limited**: Available to specific users or groups
* **Private**: Available only to you
* **Organizational**: Available across your entire organization
Configure how your agent appears in the AI Store.
Options include:
* Featured image or promotional banner
* Short tagline for listings
* Example screenshots
* Whether to display user ratings
* Usage statistics visibility
## Managing Agent Versions
If the agent is created using AI Builder, Prisme.ai supports versioning to help you manage agent updates:
Key versioning features:
* Track changes between versions
* Maintain version history
* Roll back to previous versions if needed
* Clone versions to create variants
* Add version notes and change logs
When updating your agent:
* Create a new draft version from the current published version
* Make and test your changes
* Publish the update when ready
* Optionally include release notes
* Control whether to automatically migrate existing users
## Advanced Configuration with DSUL
For technical users, Prisme.ai supports advanced configuration using DSUL (Digital Service Universal Language):
DSUL provides a powerful way to define agents using YAML syntax:
* Access the DSUL editor from the advanced options menu
* Define all agent aspects in a single configuration file
* Import and export DSUL configurations
* Use meta-programming capabilities for complex agents
* Create agent templates using DSUL
## Best Practices for Agent Creation
Create agents with specific, well-defined functions rather than general-purpose assistants.
Be comprehensive in your system instructions to guide the agent's behavior effectively.
Link to appropriate knowledge bases to enhance the agent's expertise in its domain.
Select the right LLM based on your agent's specific requirements and use cases.
Explore a wide range of inputs and scenarios to ensure your agent handles them appropriately.
Define proper safeguards to ensure responsible and appropriate agent behavior.
Balance capabilities with efficiency to create responsive, effective agents.
Design with the end user in mind, focusing on accessibility and usability.
## Troubleshooting Common Issues
If your agent isn't accessing or using connected knowledge effectively:
* Verify the knowledge base connections are properly configured
* Check that the system instructions explicitly mention using the knowledge
* Test with specific queries that should trigger knowledge retrieval
* Ensure the knowledge base content is properly formatted and indexed
* Adjust knowledge retrieval parameters in advanced settings
If your agent isn't using tools as expected:
* Check that tools are properly enabled and configured
* Verify the agent has permission to use the tools
* Update system instructions to explicitly mention tool usage
* Test with clear queries that should trigger specific tools
* Check tool API endpoints and connections
If your agent's responses aren't meeting quality expectations:
* Adjust the model and temperature settings
* Enhance system instructions with specific quality guidelines
* Provide more examples in the preloaded context
* Connect additional relevant knowledge sources
* Test with different prompt formulations
If you encounter errors when trying to publish your agent:
* Check for missing required fields in the configuration
* Verify that all connected resources (knowledge bases, tools) are accessible
* Ensure the agent name is unique within your instance
* Check your permissions for publishing agents
* Try publishing with more limited visibility settings first
## Next Steps
Now that you know how to create agents in the AI Store, you might want to explore:
Learn how to modify existing agents
Share your agents with colleagues
Maintain and update your agents
Enable and configure Canvas functionality:
* Toggle Canvas availability
* Set default Canvas type (document, code, etc.)
* Configure Canvas templates
* Set export options
* Define collaboration settings
Configure how your agent works with documents:
* Toggle document upload capability
* Set file type restrictions
* Configure size limits
* Enable/disable OCR features
* Set document processing parameters
Enable image and audio processing:
* Toggle image analysis
* Configure image generation (if applicable)
* Enable audio transcription
* Set quality and resolution parameters
Add specialized capabilities from the tool marketplace:
* Web search and browsing
* Calculation and analysis tools
* Data visualization
* Specialized API connectors
* Custom enterprise tools
## Setting Safeguards
Establish appropriate guardrails for your agent:
Using prompt, set appropriate boundaries for content generation.
Options include:
* Content category restrictions
* Language and tone guidelines
* Industry-specific compliance settings
* Custom prohibited content rules
Define how your agent responds when it encounters queries outside its scope.
Effective fallbacks:
* Clearly explain the limitation
* Suggest alternative approaches
* Direct users to appropriate resources
* Maintain a helpful tone
```
I'm specialized in helping with sales proposals and related sales documentation. This question appears to be about [identified topic], which is outside my area of expertise.
To get the best assistance with this:
- For technical questions: Try the Technical Support Agent
- For HR policies: The HR Policy Assistant can help
- For general information: The General Knowledge Agent would be better suited
Would you like me to help with a sales proposal or related sales document instead?
```
Create appropriate cautions for sensitive topics or uncertain information.
Warnings can be configured for:
* Speculative or uncertain information
* Potentially sensitive topics
* Legal, medical, or financial advice
* Experimental features
* High-stakes decision areas
```
Note: The information I'm providing is meant as general sales guidance and should be customized to your specific situation. Before finalizing important sales contracts or pricing, it's advisable to have them reviewed by your legal and finance teams as appropriate.
```
Add necessary qualifications to certain types of responses.
Common disclaimer types:
* Expertise limitations
* Currency of information
* Need for human review
* Industry-specific regulatory disclaimers
* Data privacy notices
## Testing Your Agent
Before publishing, thoroughly test your agent to ensure it performs as expected:
Click the "Chat" button in the agent configuration interface.
Test mode provides a preview environment where you can interact with your agent before publishing.
Test a variety of inputs to verify the agent's behavior.
Be sure to test:
* Core capabilities and primary use cases
* Edge cases and unusual requests
* Different phrasings and question types
* Complex, multi-part queries
* Inputs that should trigger safeguards
If your agent uses tools, test that they work correctly.
For each enabled tool:
* Verify that it's invoked appropriately
* Check that results are presented clearly
* Test error handling and fallbacks
* Confirm integration with the agent's responses
Make adjustments based on testing results.
Common refinements include:
* Clarifying system instructions
* Adjusting model parameters
* Enhancing knowledge connections
* Improving fallback responses
* Fine-tuning tool configurations
## Publishing Your Agent
Once you're satisfied with your agent's performance, you can publish it to the AI Store:
Double-check all configurations before publishing.
The pre-publish review shows a summary of all agent settings and configurations.
Determine who can access your agent.
Options include:
* **Public**: Available to all users on your Prisme.ai instance
* **Limited**: Available to specific users or groups
* **Private**: Available only to you
* **Organizational**: Available across your entire organization
Configure how your agent appears in the AI Store.
Options include:
* Featured image or promotional banner
* Short tagline for listings
* Example screenshots
* Whether to display user ratings
* Usage statistics visibility
## Managing Agent Versions
If the agent is created using AI Builder, Prisme.ai supports versioning to help you manage agent updates:
Key versioning features:
* Track changes between versions
* Maintain version history
* Roll back to previous versions if needed
* Clone versions to create variants
* Add version notes and change logs
When updating your agent:
* Create a new draft version from the current published version
* Make and test your changes
* Publish the update when ready
* Optionally include release notes
* Control whether to automatically migrate existing users
## Advanced Configuration with DSUL
For technical users, Prisme.ai supports advanced configuration using DSUL (Digital Service Universal Language):
DSUL provides a powerful way to define agents using YAML syntax:
* Access the DSUL editor from the advanced options menu
* Define all agent aspects in a single configuration file
* Import and export DSUL configurations
* Use meta-programming capabilities for complex agents
* Create agent templates using DSUL
## Best Practices for Agent Creation
Create agents with specific, well-defined functions rather than general-purpose assistants.
Be comprehensive in your system instructions to guide the agent's behavior effectively.
Link to appropriate knowledge bases to enhance the agent's expertise in its domain.
Select the right LLM based on your agent's specific requirements and use cases.
Explore a wide range of inputs and scenarios to ensure your agent handles them appropriately.
Define proper safeguards to ensure responsible and appropriate agent behavior.
Balance capabilities with efficiency to create responsive, effective agents.
Design with the end user in mind, focusing on accessibility and usability.
## Troubleshooting Common Issues
If your agent isn't accessing or using connected knowledge effectively:
* Verify the knowledge base connections are properly configured
* Check that the system instructions explicitly mention using the knowledge
* Test with specific queries that should trigger knowledge retrieval
* Ensure the knowledge base content is properly formatted and indexed
* Adjust knowledge retrieval parameters in advanced settings
If your agent isn't using tools as expected:
* Check that tools are properly enabled and configured
* Verify the agent has permission to use the tools
* Update system instructions to explicitly mention tool usage
* Test with clear queries that should trigger specific tools
* Check tool API endpoints and connections
If your agent's responses aren't meeting quality expectations:
* Adjust the model and temperature settings
* Enhance system instructions with specific quality guidelines
* Provide more examples in the preloaded context
* Connect additional relevant knowledge sources
* Test with different prompt formulations
If you encounter errors when trying to publish your agent:
* Check for missing required fields in the configuration
* Verify that all connected resources (knowledge bases, tools) are accessible
* Ensure the agent name is unique within your instance
* Check your permissions for publishing agents
* Try publishing with more limited visibility settings first
## Next Steps
Now that you know how to create agents in the AI Store, you might want to explore:
Learn how to modify existing agents
Share your agents with colleagues
Maintain and update your agents